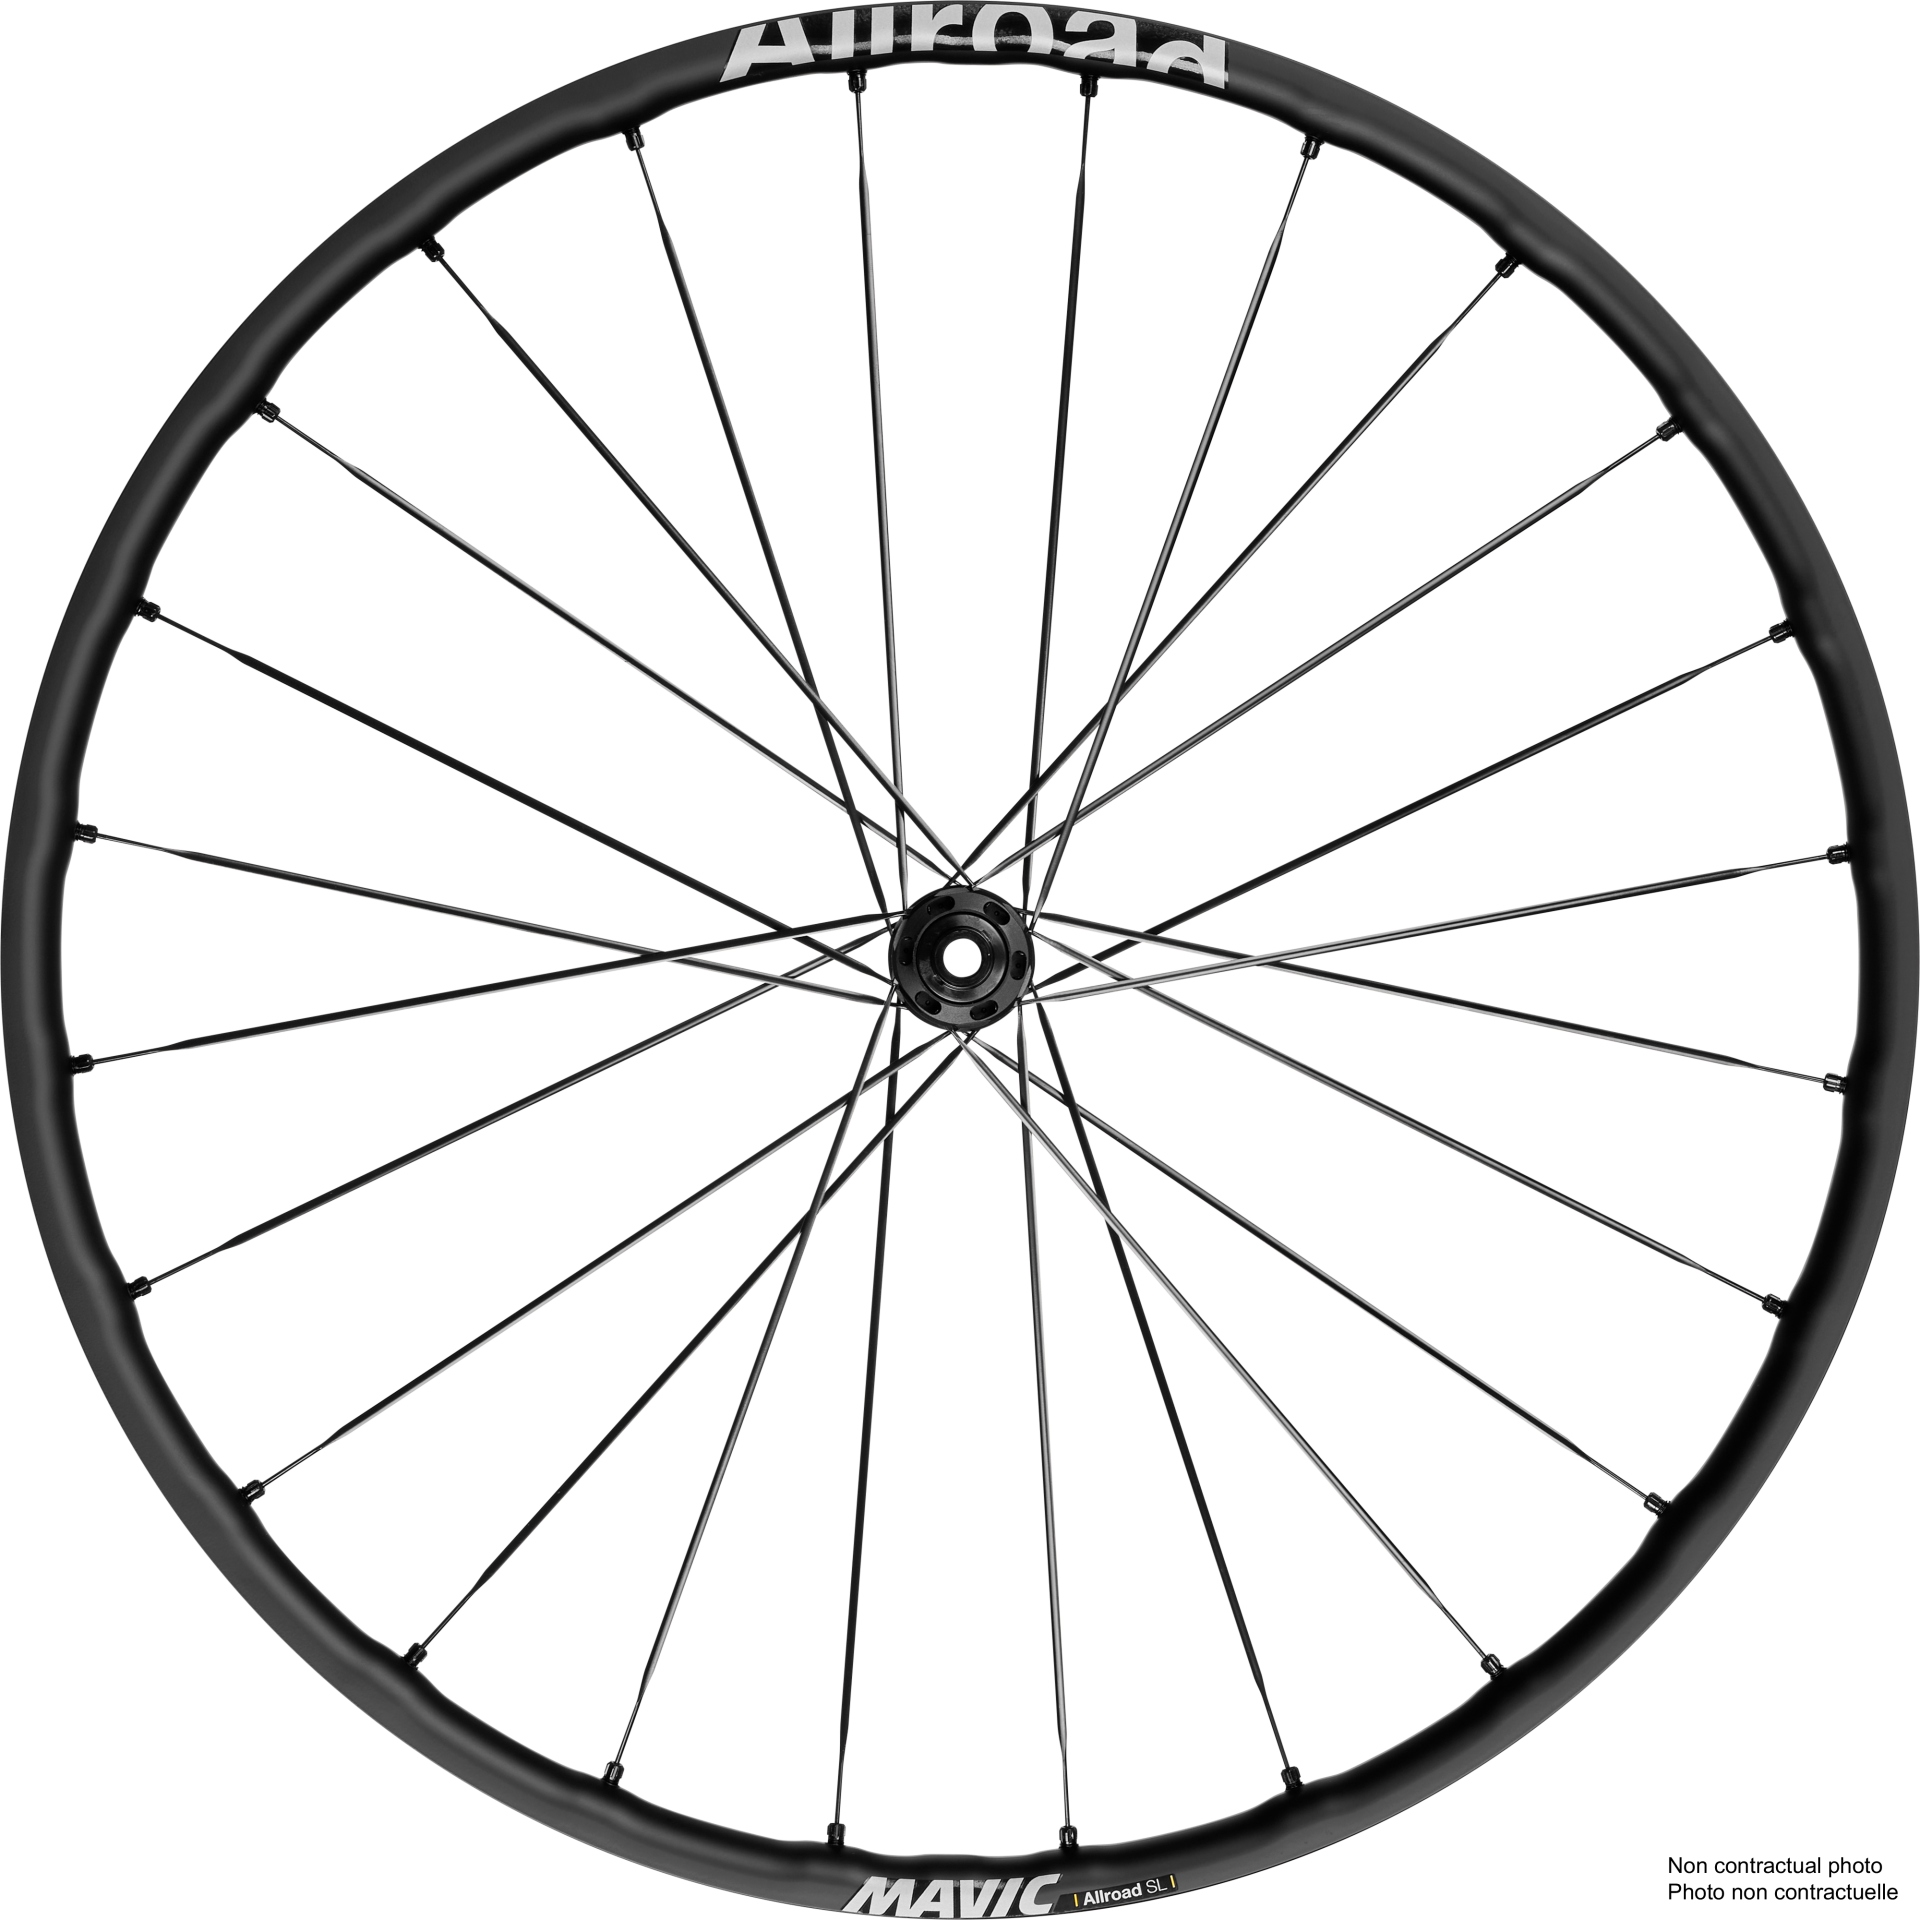
ALLROAD SLGravel, dirt, teeth-chattering pavé. Ride it all with confidence in control on this lightweight and responsive wheel featuring a new wider fully airtight UST Tubeless rim to accomodate wider tyres
KSYRIUM THERMO BIB TIGHT MThe only thermal bib tight with our thicker chamy, Ksyrium Thermo Bib Tight combines warmth, water repellency, and superior cushioning for saddle and thermal comfort.
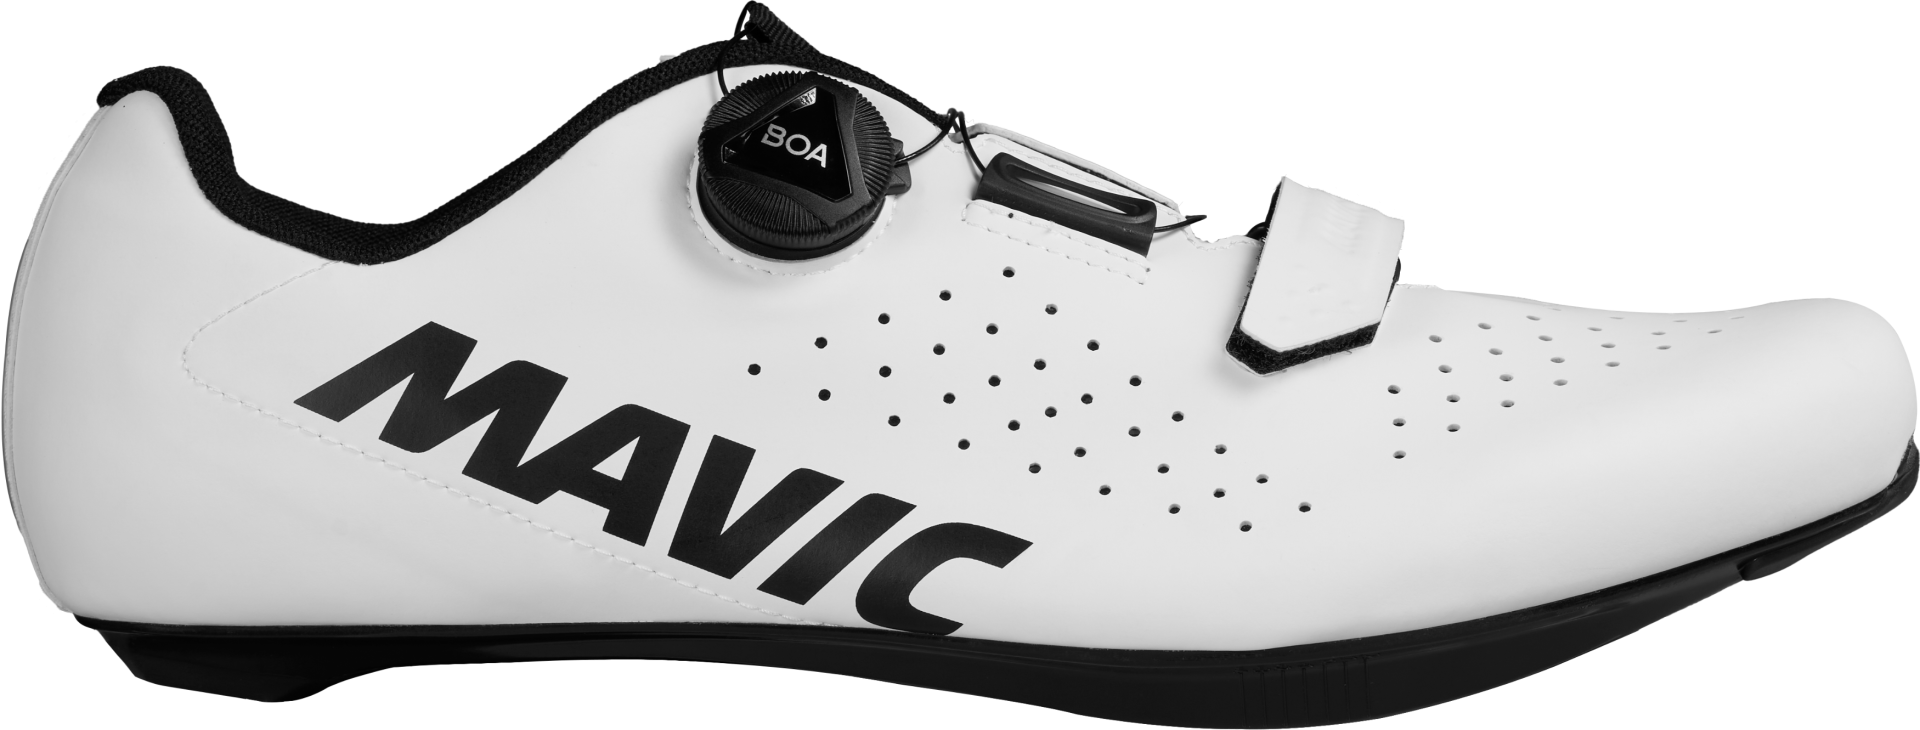
COSMIC BOAHigh-performance road shoe with comfortable fit, Boa® L6 tightening system and efficient power transfer. Made in Italy
COSMIC ELITE SLThe Cosmic Elite SL offers the best aspects of a high-end road shoe: comfort, breathability and power transfer, as well as quality and durability. Made in Europe.